Table of Contents
Tour
This demonstration will begin to show you the power and versatility of Keyboard Maestro.
Getting Started
To start, launch Keyboard Maestro. It will initially display the Welcome window.
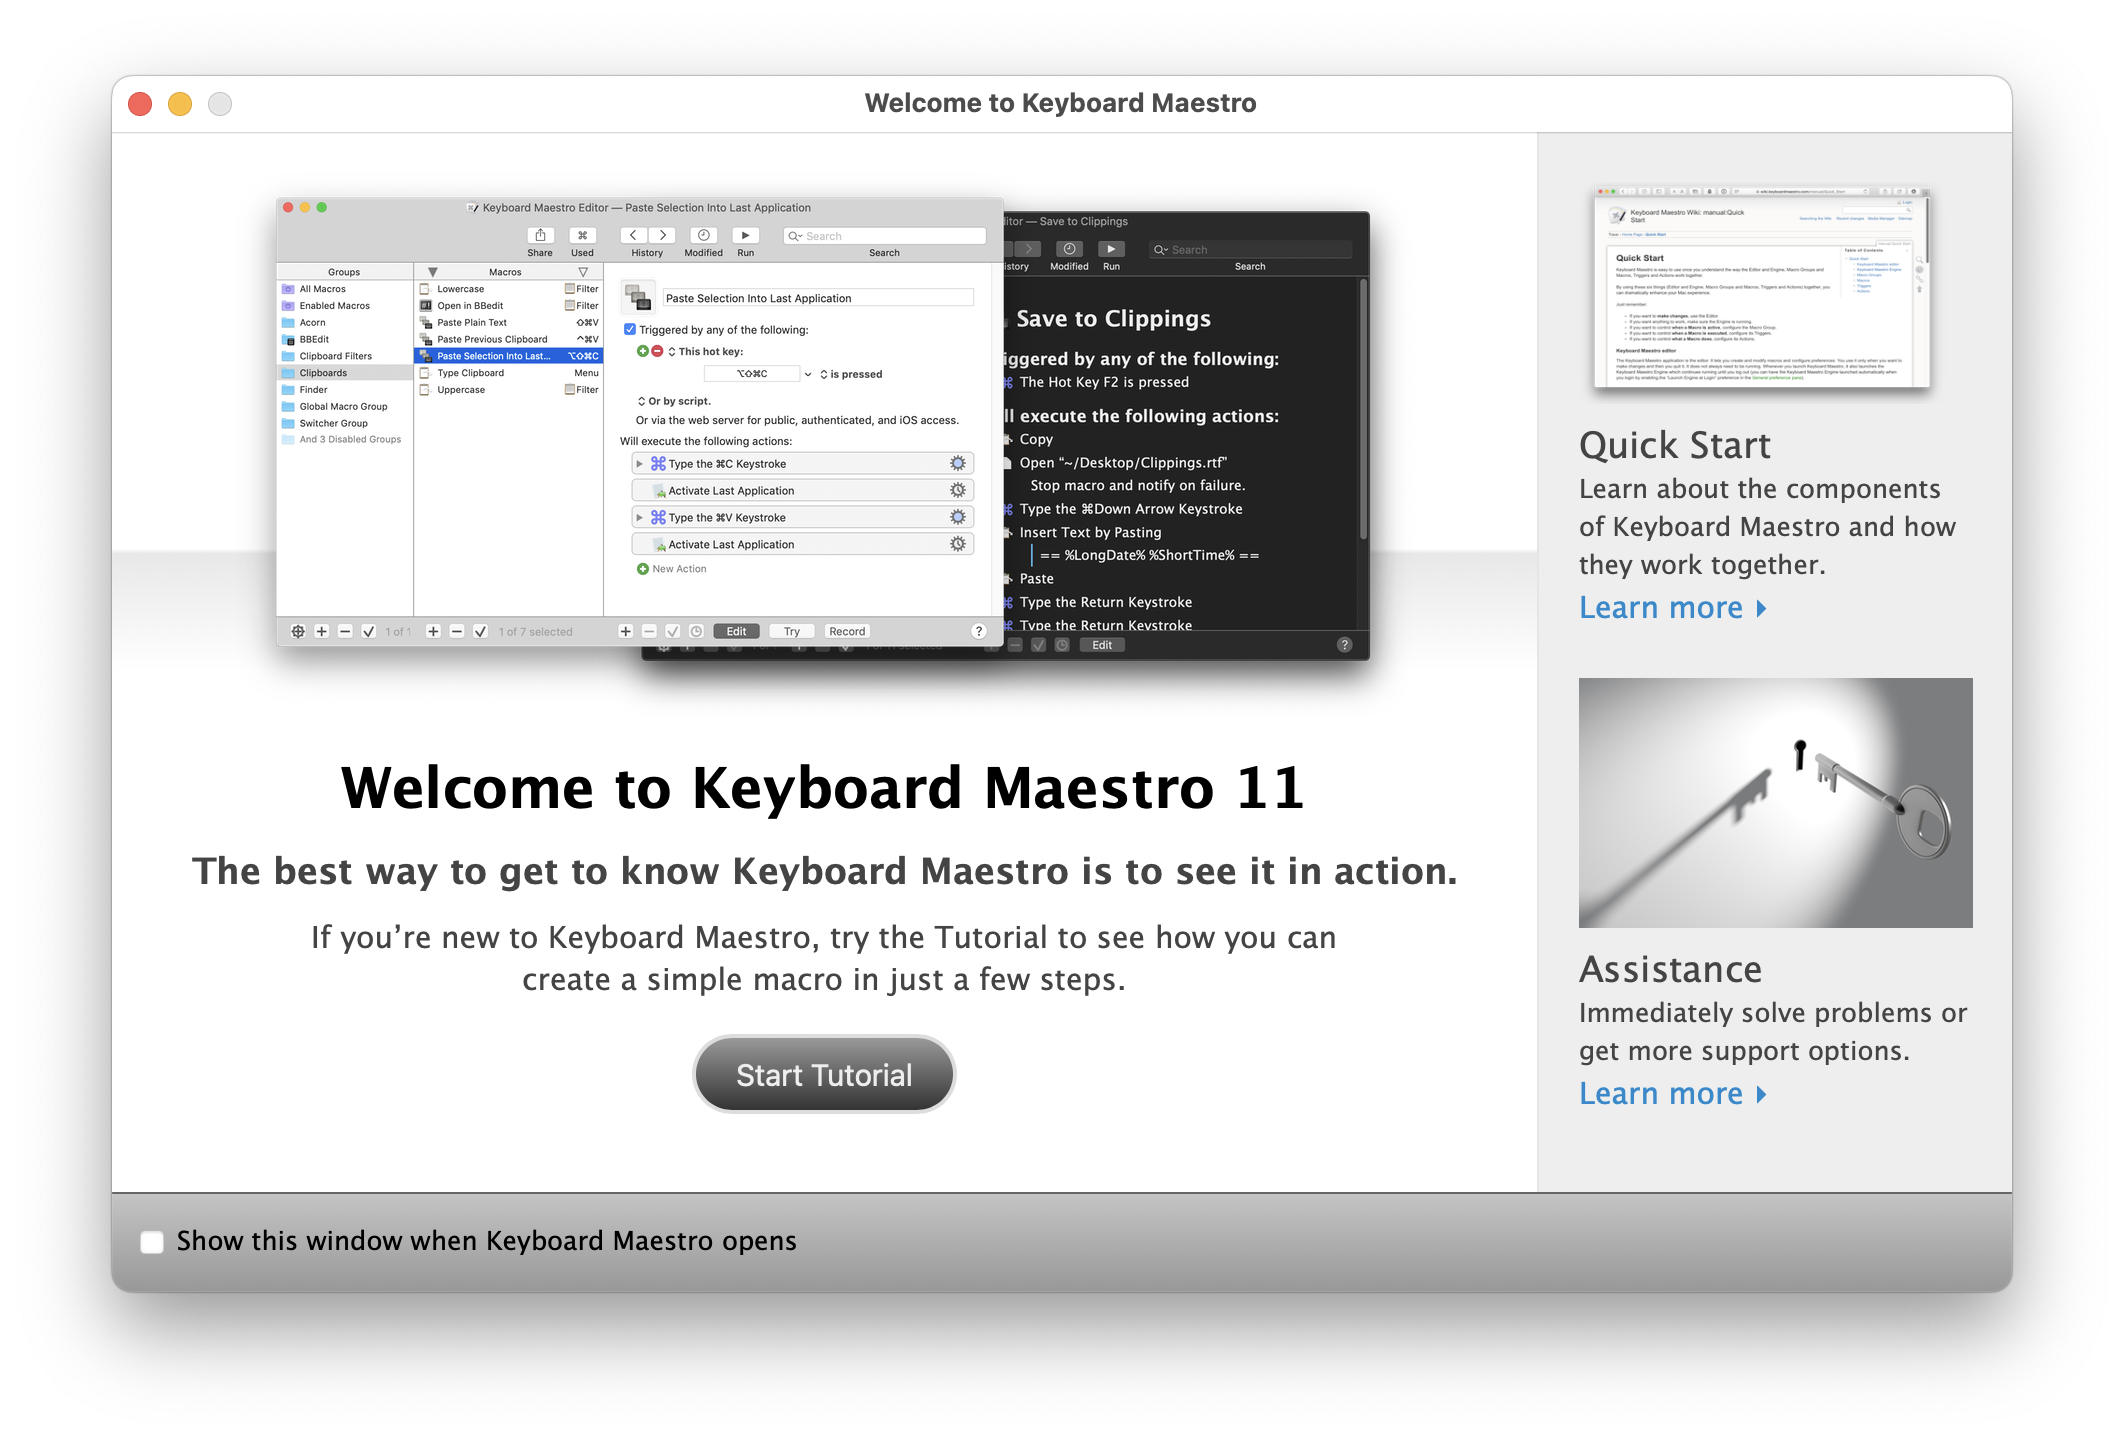
If you are new to Keyboard Maestro, start the tutorial and Keyboard Maestro will show you how easy it is to create a macro.
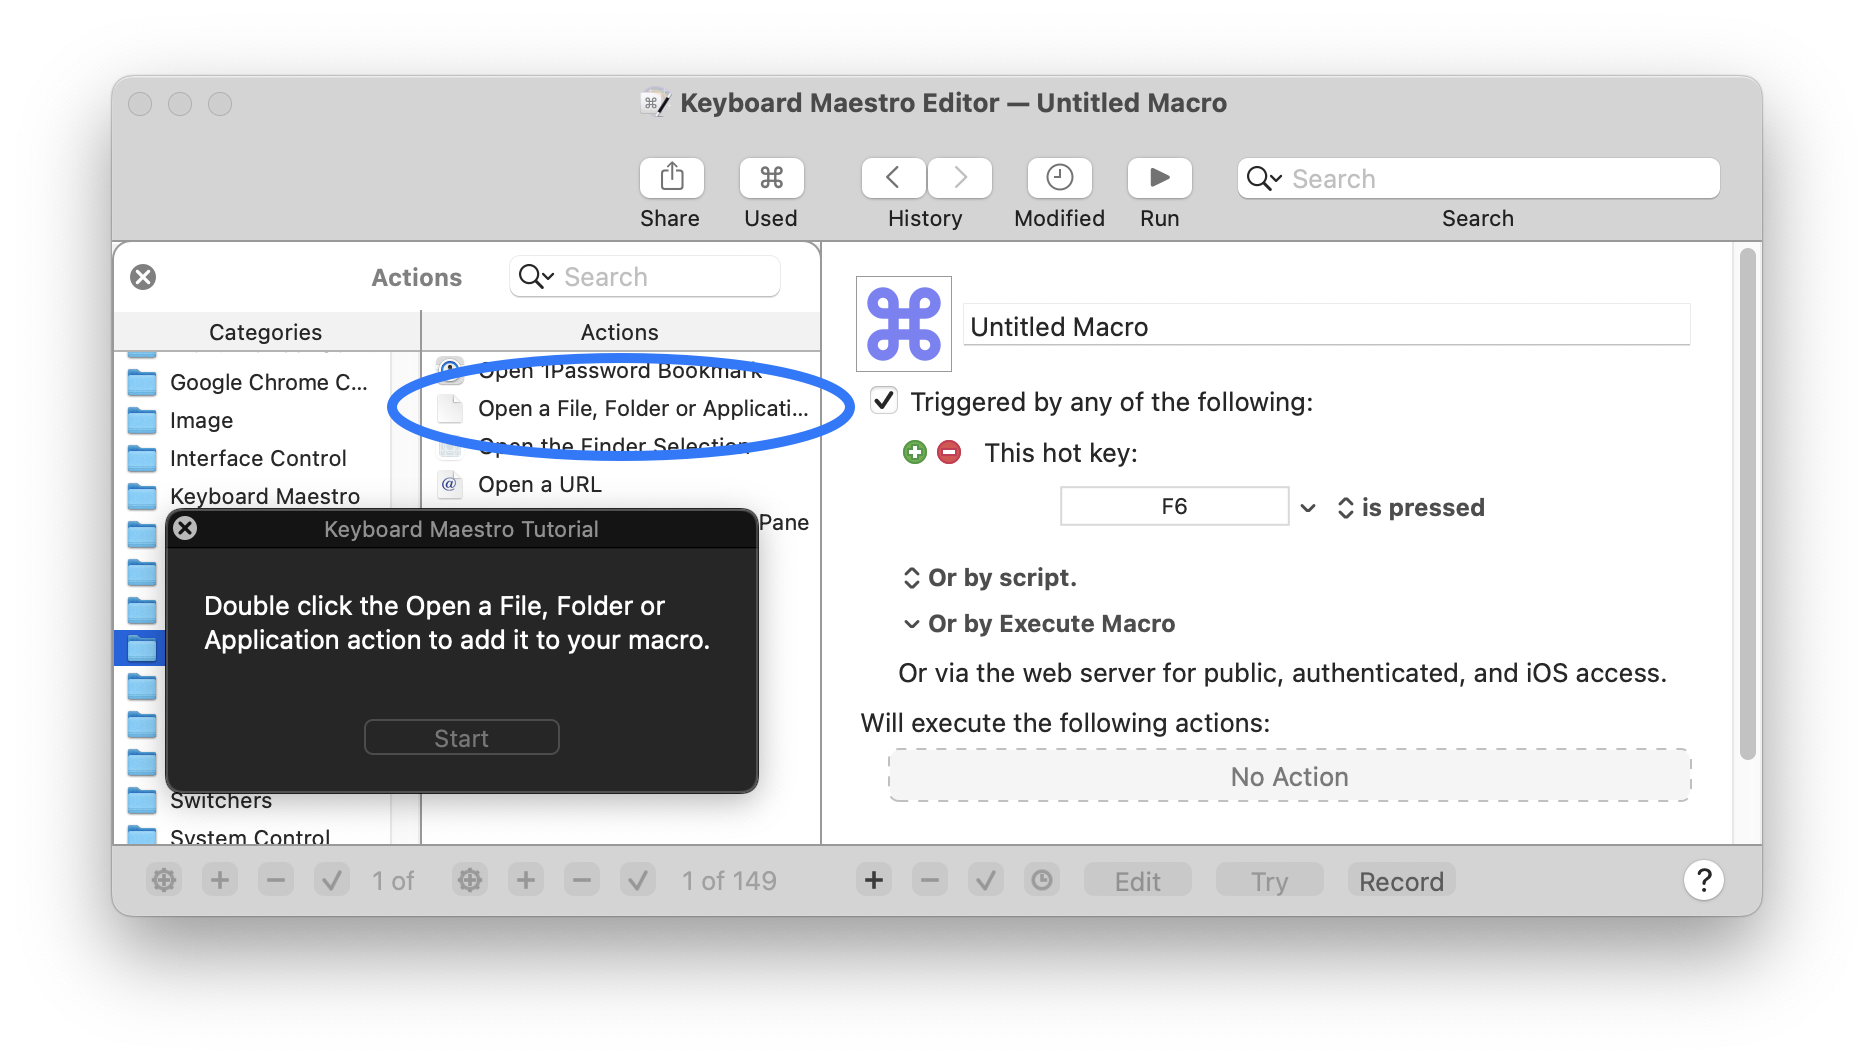
Close the Welcome window to display the Macros window.
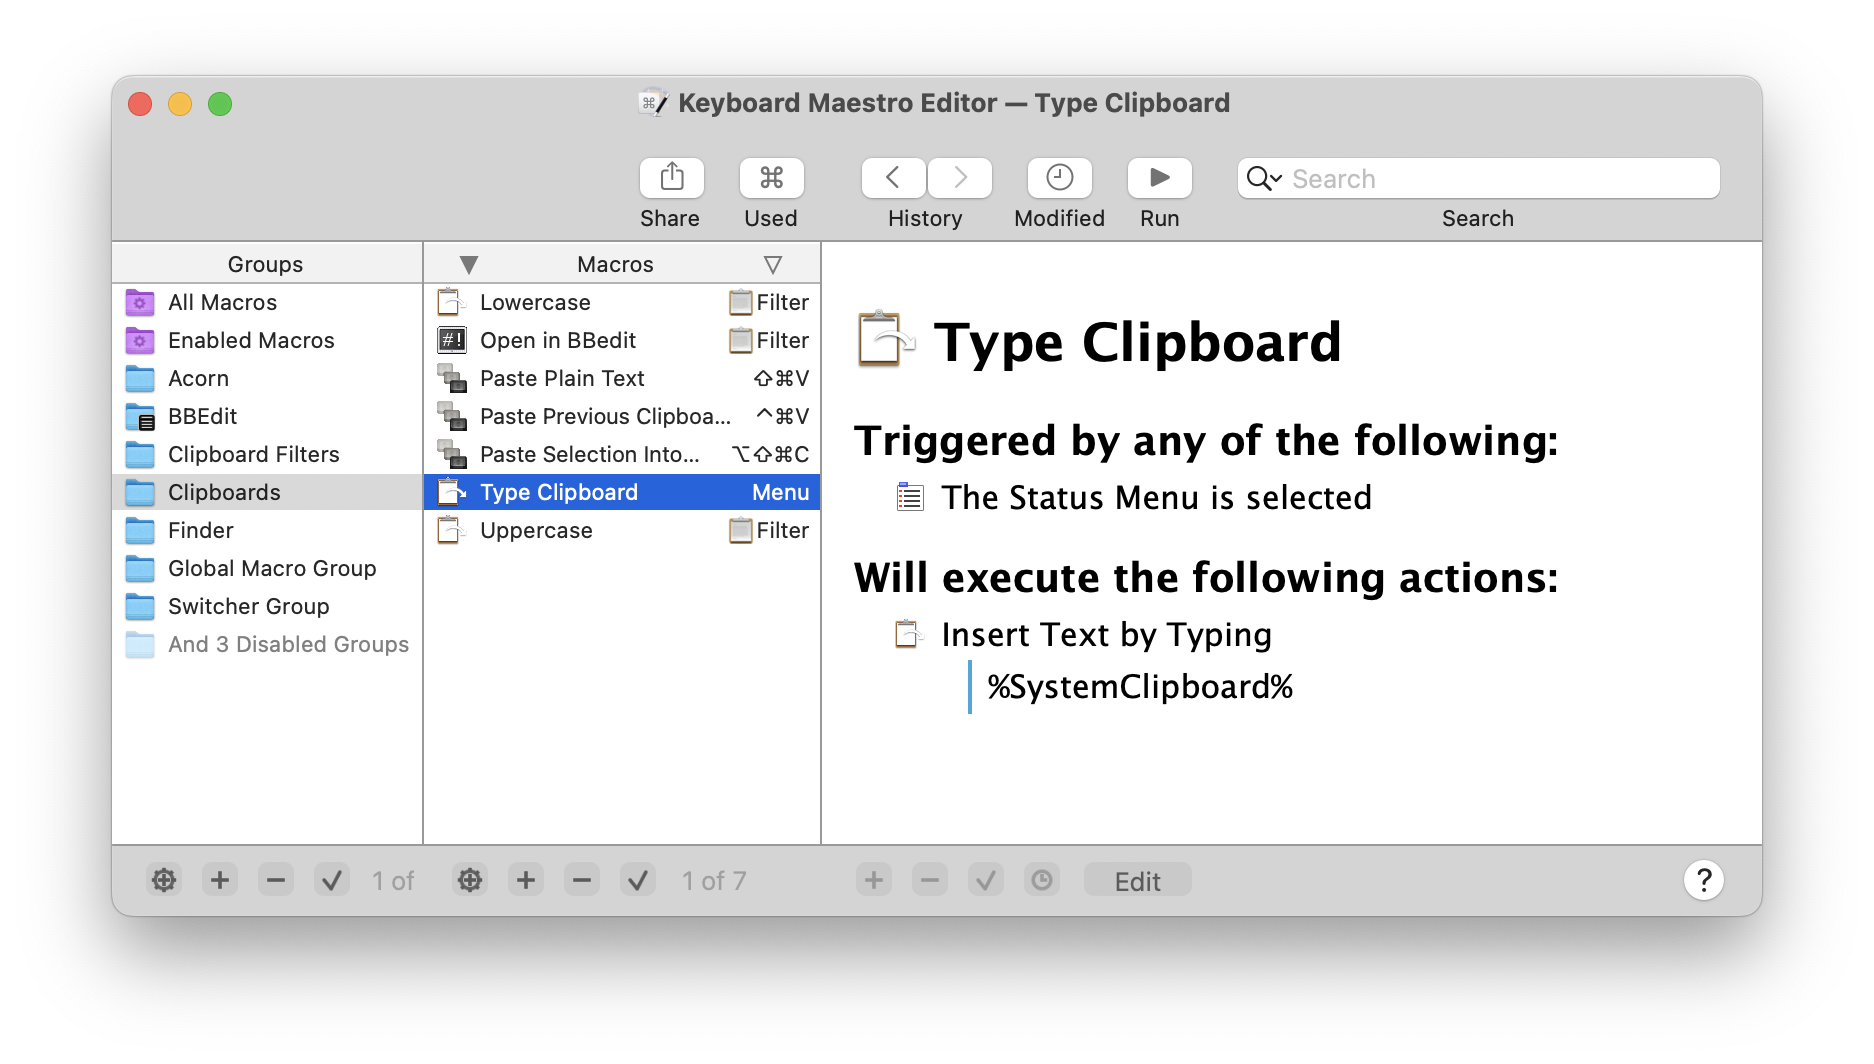
You can see some example Macros we have included for you.
Make New Macro
Click the + button under the Macro column to add a macro and display the Macro Editor window. We will now design a complex Macro enabling you to save clippings to a text file. First, launch TextEdit and create a new empty document. Save this blank document as Clippings.rtf in your Desktop folder.
Normally, to add a selection to the Clippings.rtf file, you would have to do all this:
- Press Command-C to copy the selection in an application.
- Go to the Finder, open your Desktop folder, then open the Clippings.rtf file.
- Go to the end of the file in TextEdit.
- Press the Return key and type a line of dashes and return to separate the clippings.
- Press Command-V to paste the selection you made before.
- Save the file and close the document.
- Switch back to the application where you originally selected some text or a picture.
That is all very tedious, and probably explains why most people never even bother with such an operation.
So let’s define the whole sequence as a Macro.
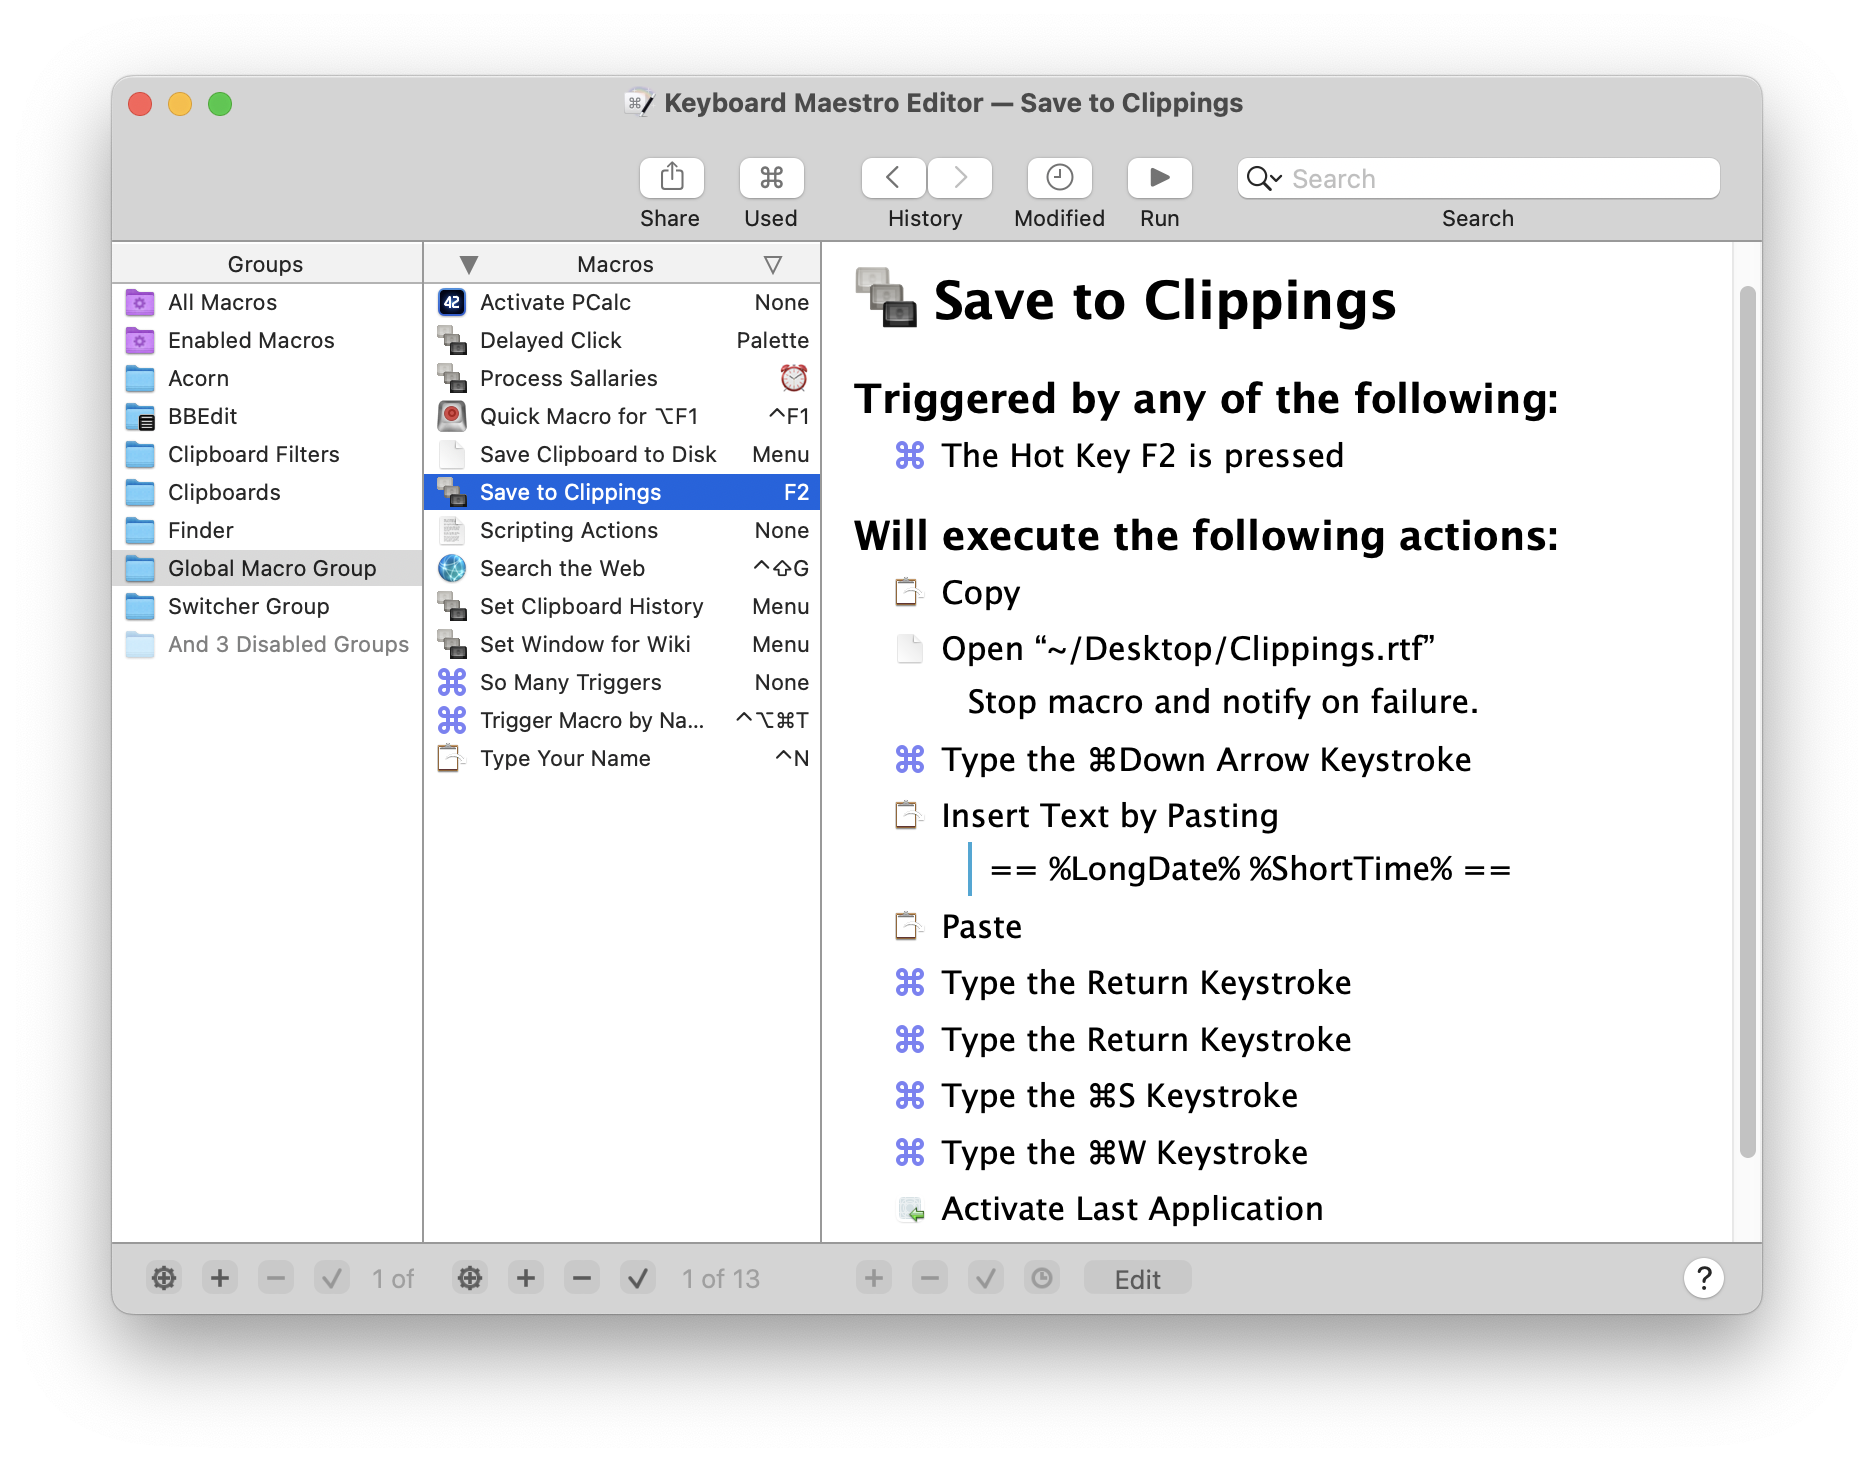
Now any time you have some text you want to save, just select it and press F2 (or Fn-F2 depending on the state of the Use all F1, F2, etc. keys as standard function keys preference in the System Preferences). What used to be too much hassle to bother with is now done in seconds!
Clipboard History
Keyboard Maestro automatically remembers your clipboard history, saving a copy of each new clipboard item as you copy it. You can then paste any previous clipboard using the defined Hot Key (by default, Command-Control-Shift-V).
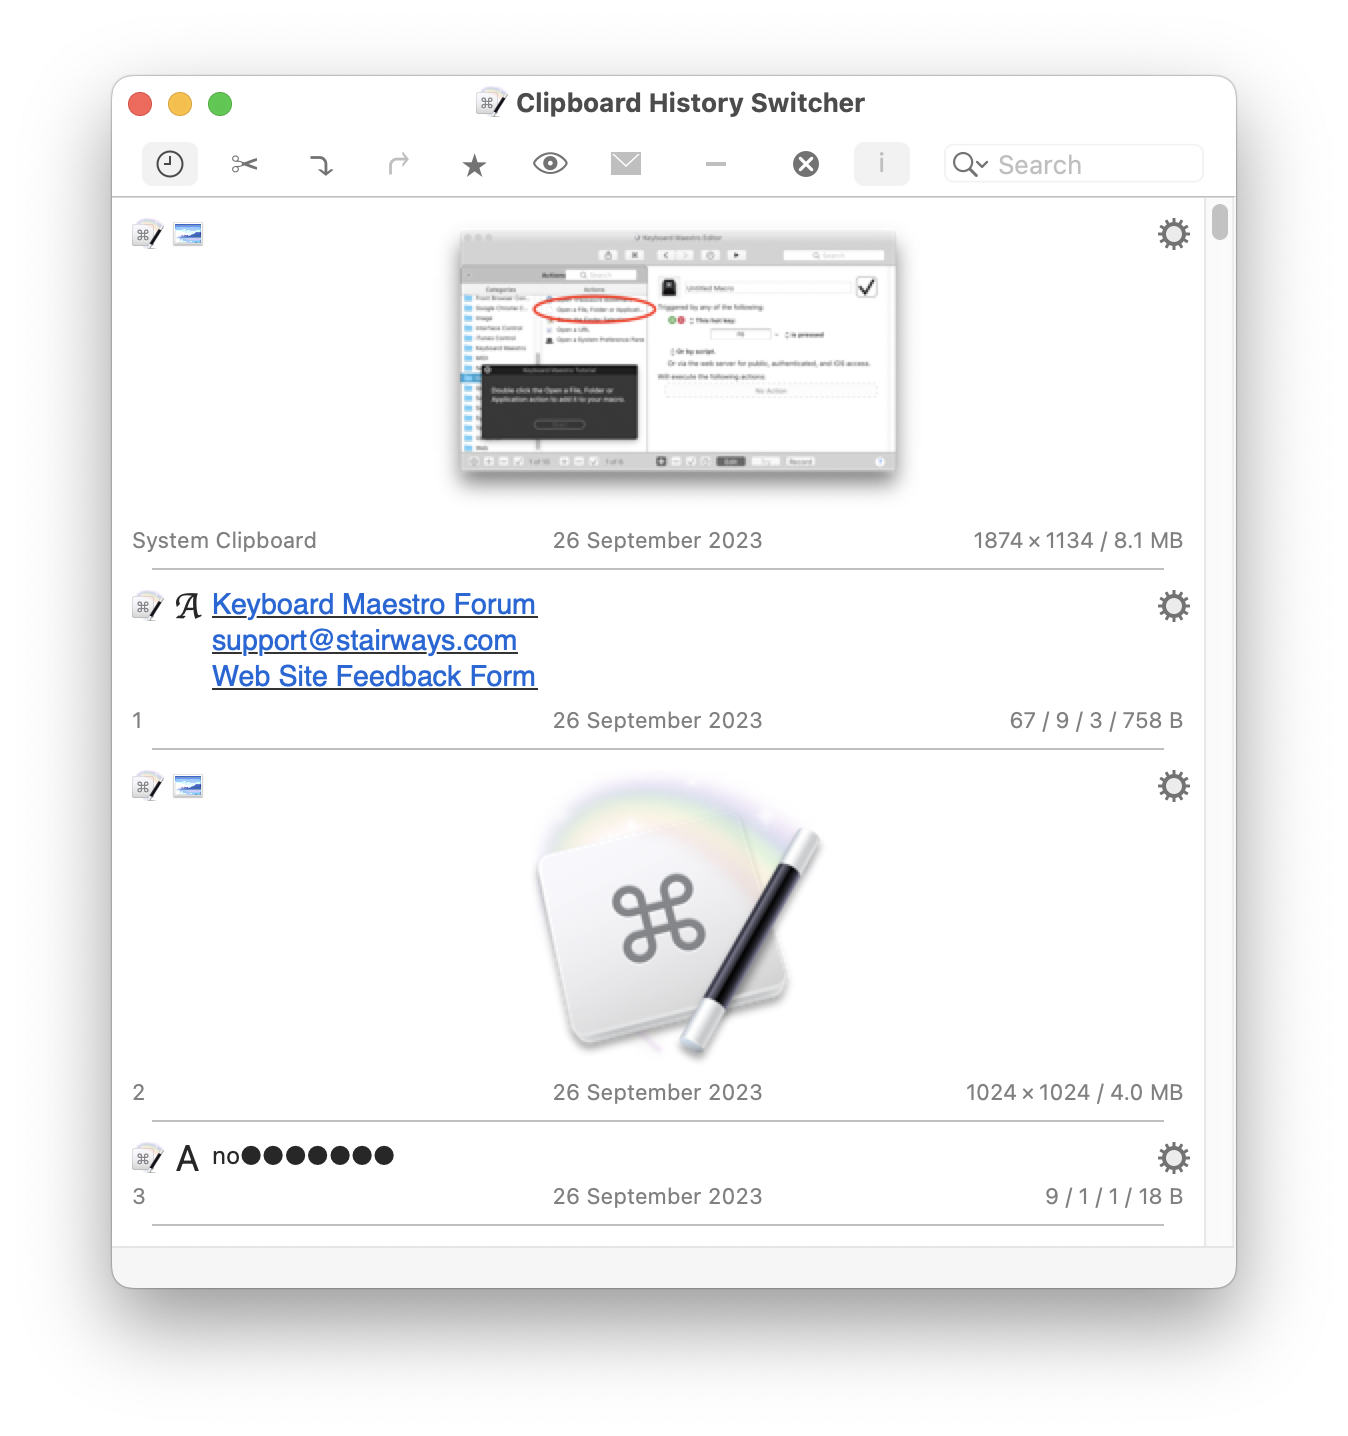
Another advantage of the Clipboard History is you can leave the window open (by toggling the Close After Action (x) button) and paste previous clipboards by simply double clicking the desired item. This is particularly helpful when you need to copy many items in many places to be pasted into one application. Hold down the shift key to paste without styles.
Keyboard Maestro can even save your clipboard history across restarts and log outs. Just enable the “Save Clipboard History to Disk” preference in the General preference pane.
Named Clipboards
For more permanent information, Keyboard Maestro lets you create as many named clipboards as you want using the Clipboards preference pane.
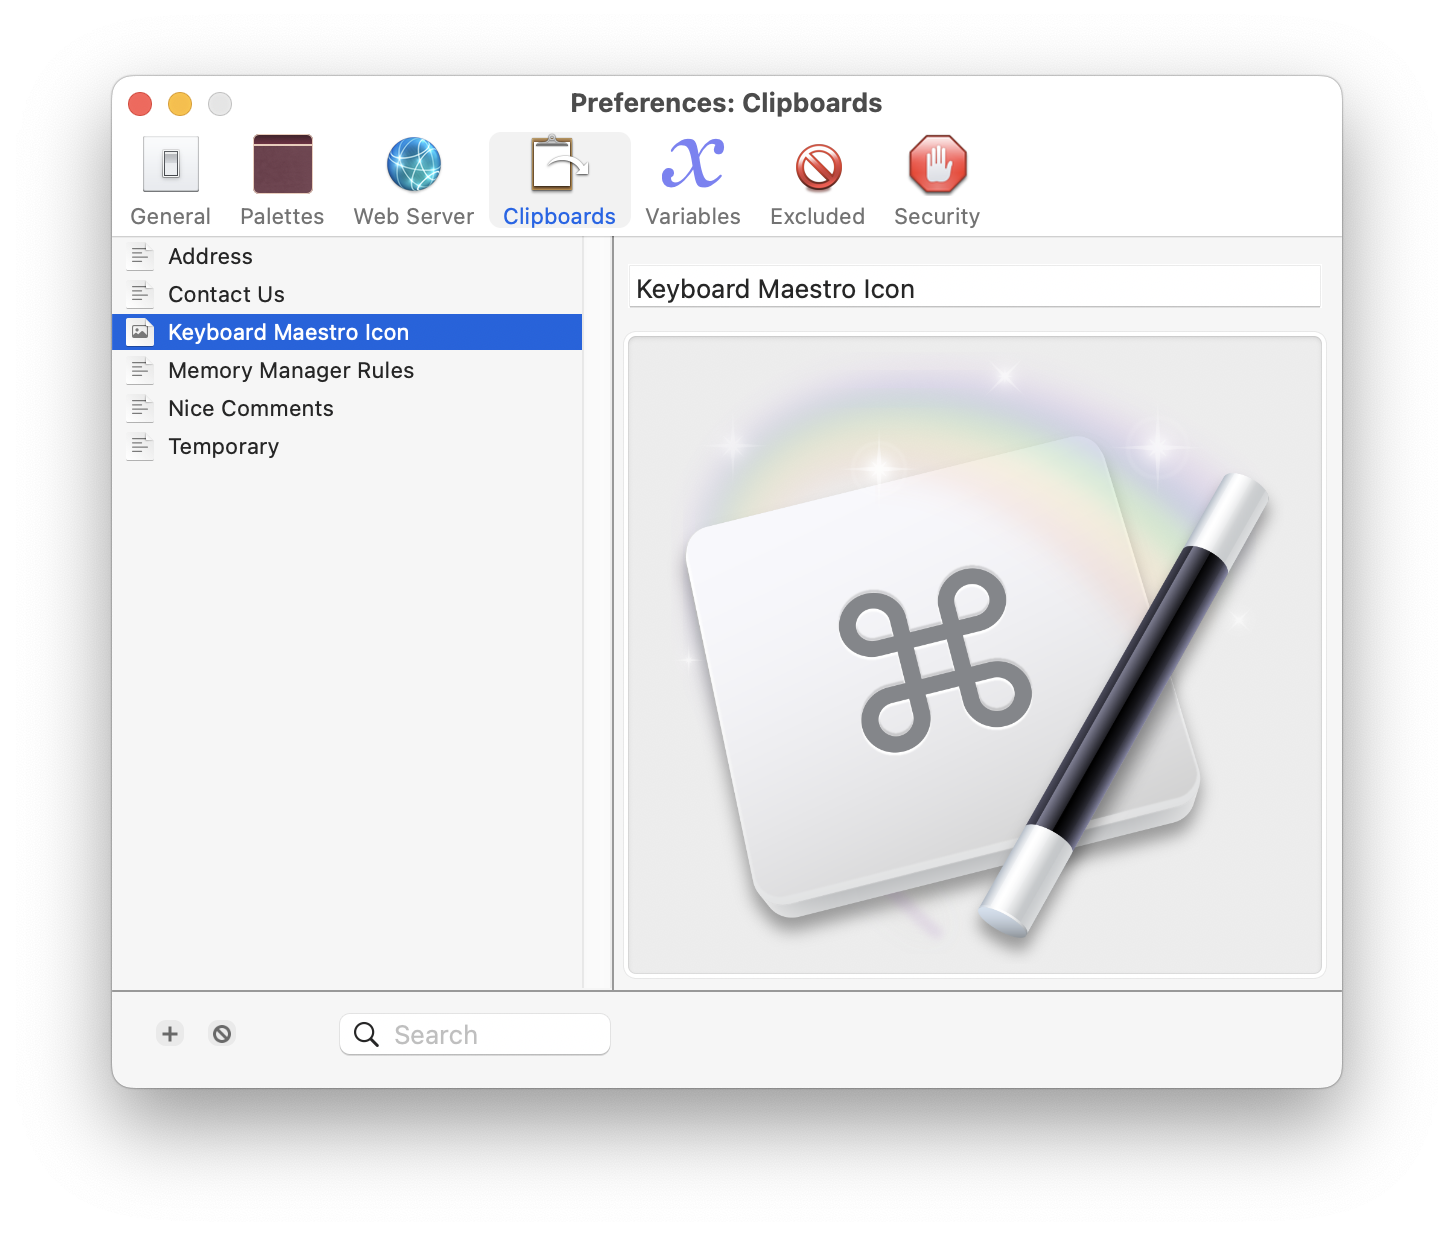
Named clipboards let you save frequently used information, like your company logo, timely information like a customer’s address, or your address so you never have to type it again. This allows you to paste the saved information whenever you want, wherever you want.
Then you can cut, copy or paste to/from the named clipboards using the defined Hot Keys (by default, Command-Shift-X, C and V respectively, but you can change them, too).
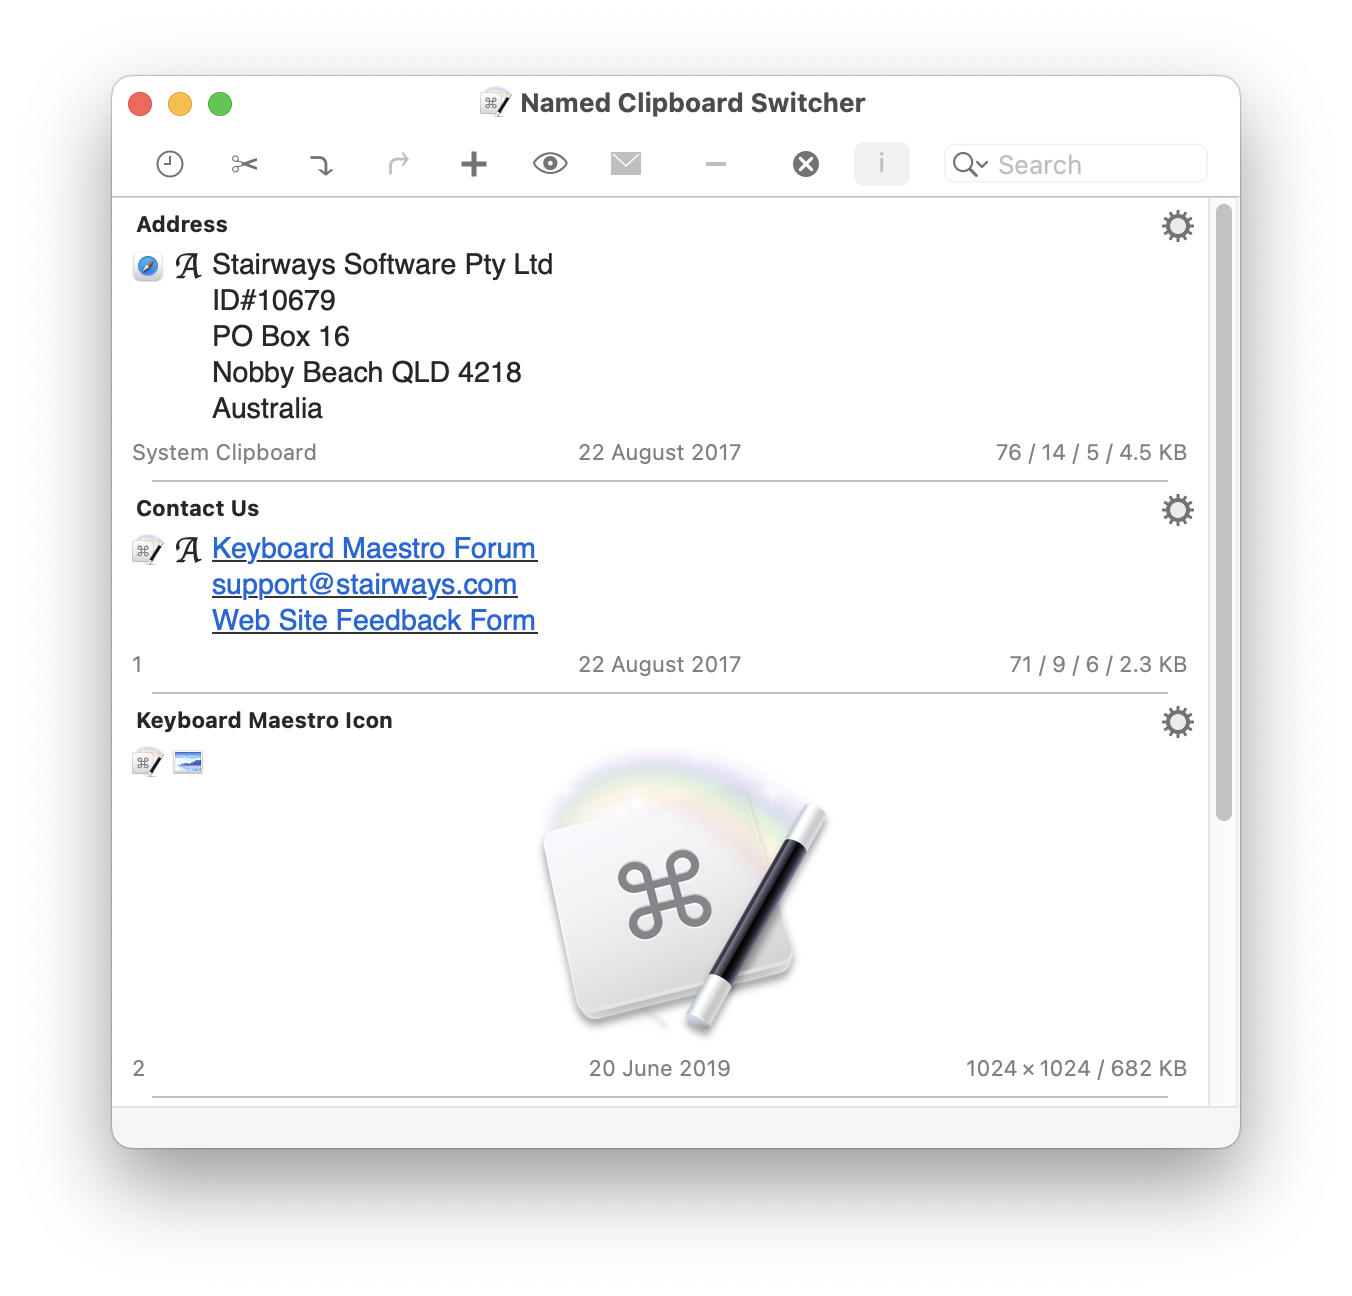
If you have a large screen, or a specific job that needs it, you can have the window stay open (by toggling the Close After Action (x) button) and copy or paste named clipboards easily.
Application Switcher
At the end of the Macro we defined, we used the Switch To Last Application action to switch back to the application you were using before. But most of us use a lot more than one application and we need to be able to switch between them, whether or not the application is already open. You can do more than just switch between applications with Keyboard Maestro: it lets you define applications that always appear when you are switching so you can launch them quickly, and also Excluded Applications that you never want to see. As well, you can quit, hide or show applications. The Application Switcher is activated like any other macro, so you can find it in the Switcher Group in the Macros window. By triggering the Application Switcher macro (for example by entering the default Command-Tab key trigger, though this can be changed) you can display the Application Switcher window.
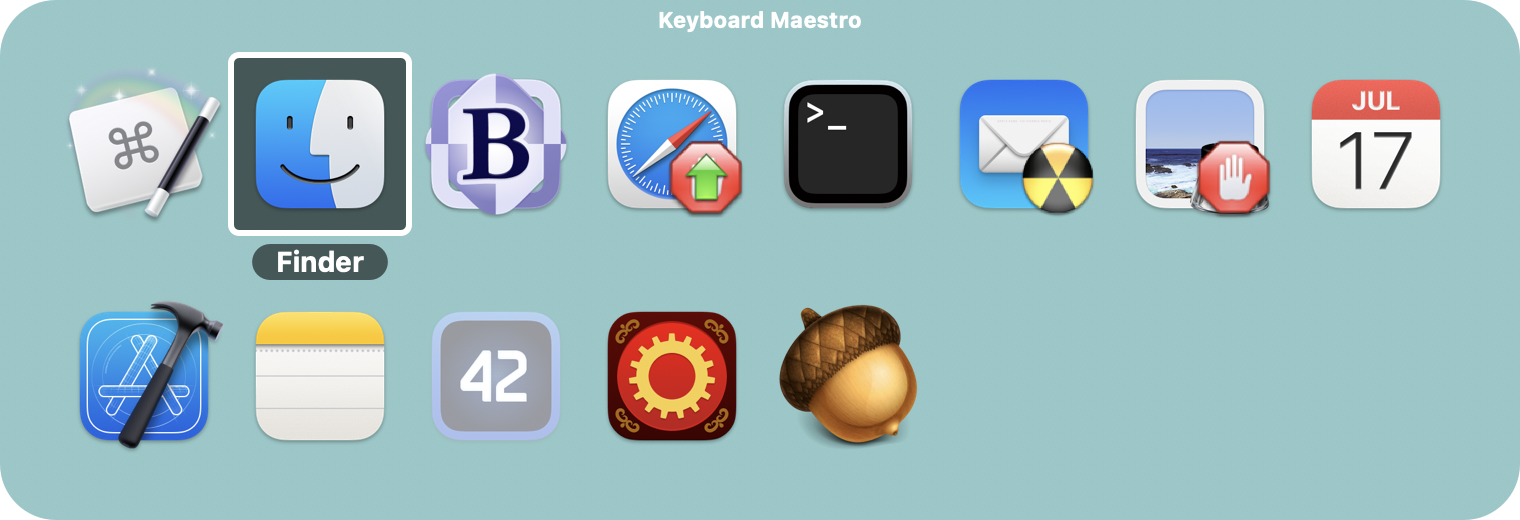
Note the applications set to be launched or quit.
If you want a specific keystroke to always launch a certain application, you can define a Macro to do that. For example, you could create a Macro with a Hot Key Trigger of F3 so it always activates Safari.
Window Switcher
Keyboard Maestro also includes a Window Switcher. By triggering the Window Switcher macro (for example, by pressing Control-Tab), the Window Switcher window appears showing all the windows of current application (in the current space).
Note the windows set to be closed. This is a very useful way of cleaning up an application with a lot of open windows.
Conduct Your Mac Like a Pro!
This is just a taste of all that Keyboard Maestro can do for you. It’s time you started getting the most from your Mac! Download Keyboard Maestro today and you can be working faster and smarter in no time.

